
A simple workflow for RAW images and Darktable
This tutorial assumes you already have Darktable installed.
Today i will be sharing my workflow for editing raw images shot with a DSLR on Darktable, i use this on my linux for editing shots and its a time saver.
Darktable is an open-source photography workflow and raw developer application. it allows for non-destructive edits and features a comprehensive set of modules
the workflow i employ when working with RAWs is
- Import
- Backup
- Organization
- Effects
- Export
Import your files:

this is a no-brainer, you should have the files you want to work with on the PC.
The options allows for image/images import, folder import and it has support for scanning a camera directly.
Create Your Backup:
Repeat after me, backups are good!, ideally i have a cloud (Dropbox) and offline (External Drive) backup for every RAW i intend to work with, that way i don't lose any file ever!
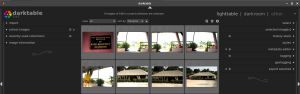
Organization:
you can use darktable to rate, delete and move files, i usually rate all photos i want to immediately work on with a 4 star rating, i use 3 stars to mark photos i should give a second chance, i delete or move the rest into a folder called unused. this makes editing your pictures incredibly fast.
Effects:

Its now time to apply effects, i usually apply
- levels
- contrast brightness saturation
- shadows and highlights
- denoise (profile)
- graduated density
- exposure
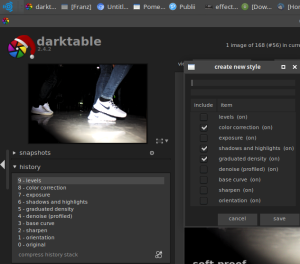
whats more you can save any number of effects together as a preset, simply click on the history panel on the left and you should see all the effects you applied, at the bottom is a small button that says "create a style from the current history stack" it launches a small window that allows you to select which filters you want as well as a name and description.
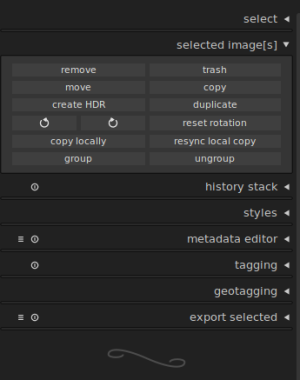
Export:
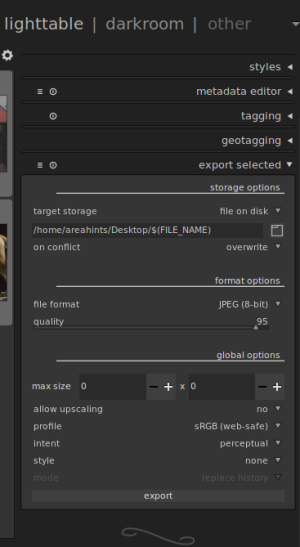
Darktable exports using whatever preset you select in those options and voila! job complete!
Using this simple workflow for editing shots with darktable will ensure that you save time and get the job done easily.
With this simple workflow, you can use darktable to edit your shots quickly and conveniently. daktable is open source and can be found here.
Do you have any questions or tips you want to share? leave a comment below and don't forget to share this article!
Comments